As always, READ THESE FIRST:
1) items obtained from Daiso. it's a chain of $2 stores, meaning everything they sell there is $2 per item. you can check if you have one in your area here:
http://www.daiso-sangyo.co.jp/english/storeinfo/storeinfo03.htmlotherwise, you can also probably check out your local hardware store to see if they stock anything similar. and if -that- doesn't work, then....:( sorry. you're better off purchasing ready made items then.....
2) it's not real glass. it's soft plastic, kinda squishy even, much like tubing for....fish tank aeration systems?
3) i'm sure you will find better ways of making or places to purchase nicer bottles, but i enjoy making minis out of found objects, with a little out-of-the-box thinking. so this isn't the most original idea, but heck, it's mine and so, be nice, don't steal images and stuff, ok? ^ ^
4) if you decide to share this tutorial, i'd appreciate it if you let me know first, or ask for permission to use my pictures. it's just common courtesy, and will make my day :) oh and uh, if you do make any of these via my tutorial, a credit would be nice too :) :) :) just link back to this tutorial page itself:
http://snowfern.com/2010/02/tutorial-easy-glass-jars-cups-bottles.html
on to the fun stuff!

these are 'terminals', they're sort of like wire connectors i -think-. i found them at the hardware/electrical section in my neighbourhood branch of Daiso. says here "Produced for DAISO", so for those who don't have a branch near you, or that branch doesn't carry it, sorry you're sh*t out of luck. but why torture yourself like i do? :P

looks remarkably like glass, right? for this set, the package contains 8 of these, and 8 smaller tubings (which i'd forgotten to take pics of). so that's quite a few jars, bottles and glasses you can make. :) at -least- 32 pieces!
again, this is pliable plastic. awesomeness.
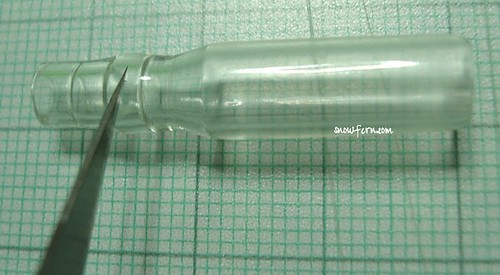
i've indicated where you can cut with either your craft knife, or scissors. although i did use a craft knife for the trial version, i've found it cuts easily with scissors as well. just be careful not to hurt yourself, and try to keep it as straight a cut as possible.

you can decide for yourself how tall you'd like your bottle/jar vs glass to be. of course, the taller your bottle, the shorter your glass. if you don't understand what i'm referring to, the left side of the blade will be the bottle part, the right side, the glass. it will be made clearer in following pictures.
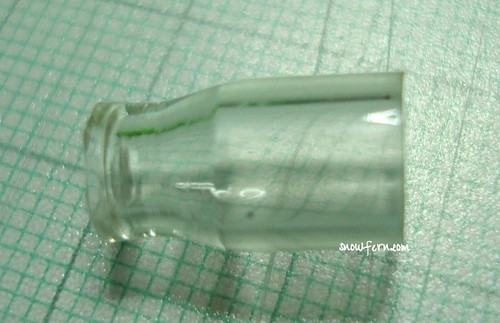
TADA! the bottle!
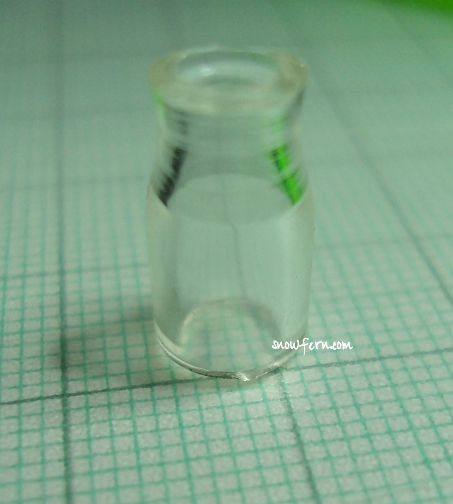
aaaaaand....the bottle standing up!
from here on, you don't really have to do the following steps if you don't intend to fill it, or don't care if it's a bottomless jar. but i -do- plan to fill it, probably with resin? but that's another project for another day. :)
moving along....

find a piece of thin plastic. any old packaging material will do. i used a file puncher to do this job. the plastic is a piece of laminating plastic i had lying around. beats me why i have it, i don't own a laminating machine, i'm a hoarder like that. HA!
at first i tried gluing then cutting round the base of the bottle, but it all just seemed terribly cumbersome and untidy, so i went with the hole punching method instead.
btw. if you're intending to add items to the bottle, like pickled onions, cucumbers, pickles (XD ) etc, this would be a good time to stick them in. easier to arrange the items from the bottom of the jar.
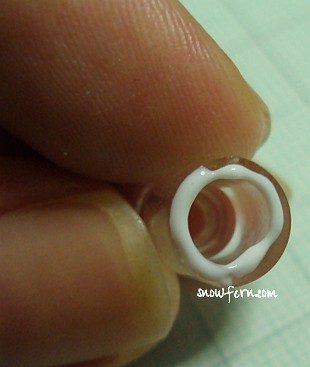
using PVC aka white glue, smear around the inner edge of the bottom. why PVC glue? ionos. guess cos it dries clear, is cheap and useful for almost everything, and well. it just so happened to work? haha.

stick on the round pieces of punched out plastic. let dry! this pic shows the bottoms after the glue has dried thoroughly.

TADAH!!!! GLASS AND BOTTLE!!! wooot woot! if you are worried that the bottoms aren't totally waterproof, i guess you could always give the bottoms a coat of gloss....i plan to do so later i guess....if i remember to....before i fill it with resin or whatever fake water medium you use. i wouldn't recommend liquid polymer clay since you really shouldn't bake these. they -are- plastic after all. i think i've mentioned that at least 2 times before.
SO THAT'S IT!!! oh no wait. there's MORE :P
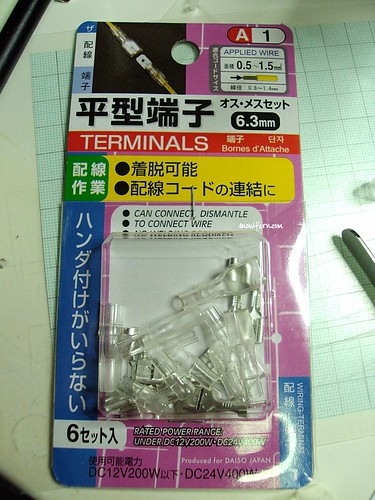
looky here! this is also a connector/terminal. 6 sets....let's have a closer look shall we?

AHHH!! KETCHUP BOTTLE!!! or whatever squarish bottle you think it can be used for.

deng deng deng deng~!~~
if you don't wish to fill it with resin, you can always easily paint the inside of the bottle with acrylics to simulate whatever the bottle is to contain. alternatively, you could also simply insert a strip of coloured paper, add labels, paint -over- the thing.....possibilities are ENDLESS!!! i only got these today so i will be fiddling around with it more. soon-ish. XD no promises though....
so there you go. my latest tutorial. let me know what you think! and remember to share with us if you've made any of your own ^ ^
p.s. try to resist the urge to squish the bottle after you've glued on the bottom, or it'll pop off rather easily -_-" esp if you haven't 'reinforced' it with resin filling yet......
-----------------------------
update on tutorial, now that i've let the resin set all night ;)

did this like, 2am last night. so i didn't take care to prevent mixing in the bubbles :X don't matter, it's just practice and could pass for soda i guess.
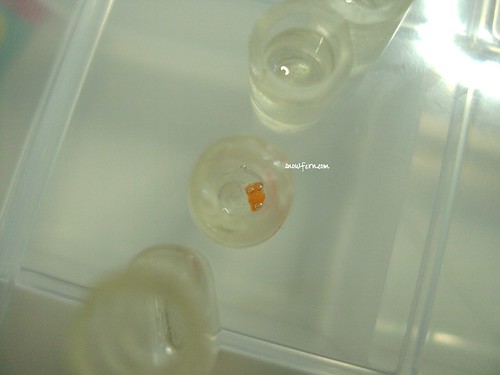
that's not a goldfish. it's a drowning gummy bear XD i made a few 1:12 gummi bears approx 2mm tall, a little larger than i'd like but heck. it's a freaking gummi bear. i bite their heads off first OMNOMNOM.
(before people think i'm a sicko, i admit. i -am- a sicko! nono, i originally wanted to see if resin with resin sank or floated, and the smallest resin piece i had around was the gummi bear. verdict, resin floats in resin XD )
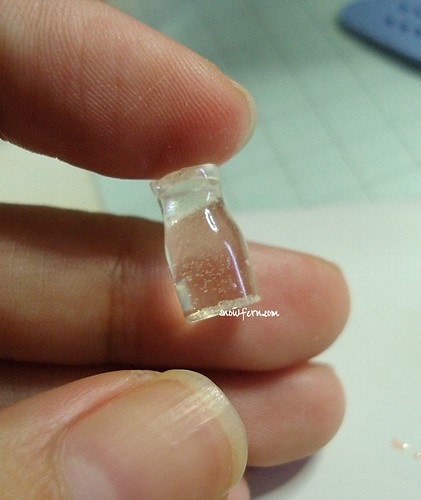
i filled on up to the top. this is because i recalled that resin does not stick to certain soft plastics, what better time to try???

my heart went "doki-doki" before cutting this. i guess if you had immense patience, you could finagle the set resin out of the flexible tube. but i don't, and i didn't want to pop it in the fridge to wait either (refrigerating the resin lets it shrink a smidge, and could possibly save 1 'bottle'). so i CUT IT OPEN. *evil laughter*
what i'm so excited about is that, the tinier bottle could be used as shoyu bottle, or a cute little snack drink bottle, and BEST OF ALL THERE IS NO SEAM.
again. i'm too pleased with myself. humility, where? XD
measurements of the tinier bottle:
4.5mm wide
6mm from top to base of neck of bottle (since the bottom cylindrical measurement is entirely up to you)
off to play with more minis, yay~!~
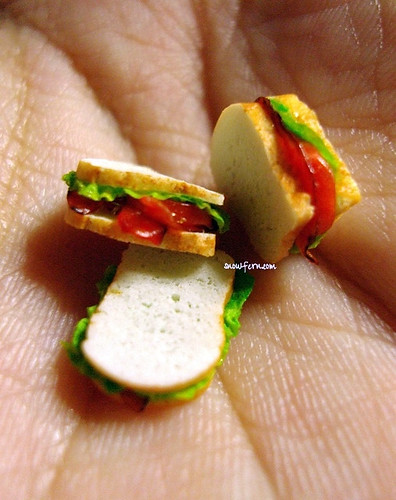
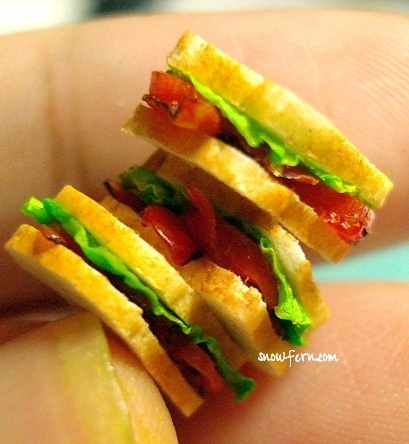


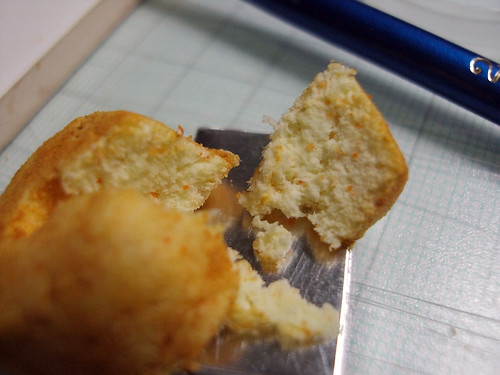

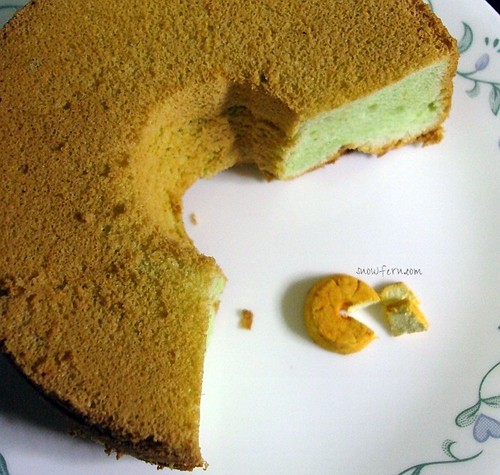
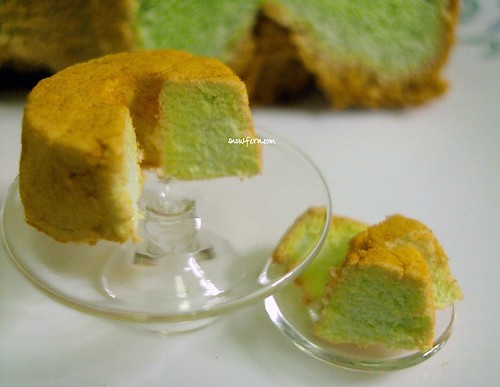
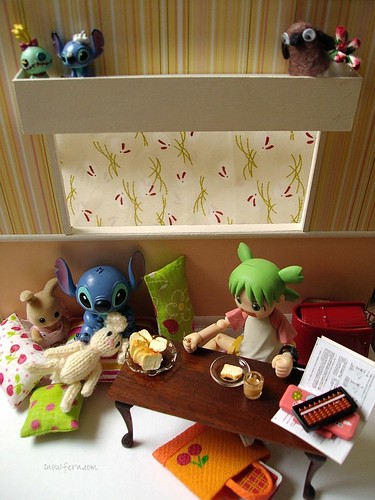


 i had been wanting to make these for a while now, and the bug has bitten Asuka as well XD we're still waiting on Nyann for her version, which should be coming up soon :D

 swan vs puffs. ok i'd originally planned to make more swans, but making the neck is such a chore, i wasted sooo much clay and only got 2 reasonably good ones. which is why you only see 2 different swan sizes XD
 it all starts with the cream puff, yes? i hadn't realised how addictive/fun ADC is till i embarked on this project. i have another 24 cream puff blanks waiting to be coloured and turned into an army of swan puffs :P
